How to Export Stems in Logic Pro 11
Exporting stems in Logic Pro 11 is an essential skill for any music producer. Whether you're preparing your project for mixing, collaboration, or archiving, understanding how to navigate the export options effectively can save you time and ensure high-quality audio. In this guide, we will cover the steps to export both multitracks and stems, highlighting the nuances of each process.
Understanding Multitrack Exports
When it comes to exporting multitracks, the process is relatively straightforward. You might want to export multitracks for several reasons: creating backups, sending files to a mixing engineer, or collaborating with other musicians. It's crucial to ensure that your session is fully loaded and all tracks are correctly arranged before proceeding.
One key point to note is that when exporting multitracks, any processing applied to buses will not be included in the exported files. This means that if you have effects applied to a bus, those effects will not carry over to the individual tracks exported. Instead, you will export each track separately, which can be beneficial for detailed mixing later on.
Step-by-Step Guide to Exporting Multitracks
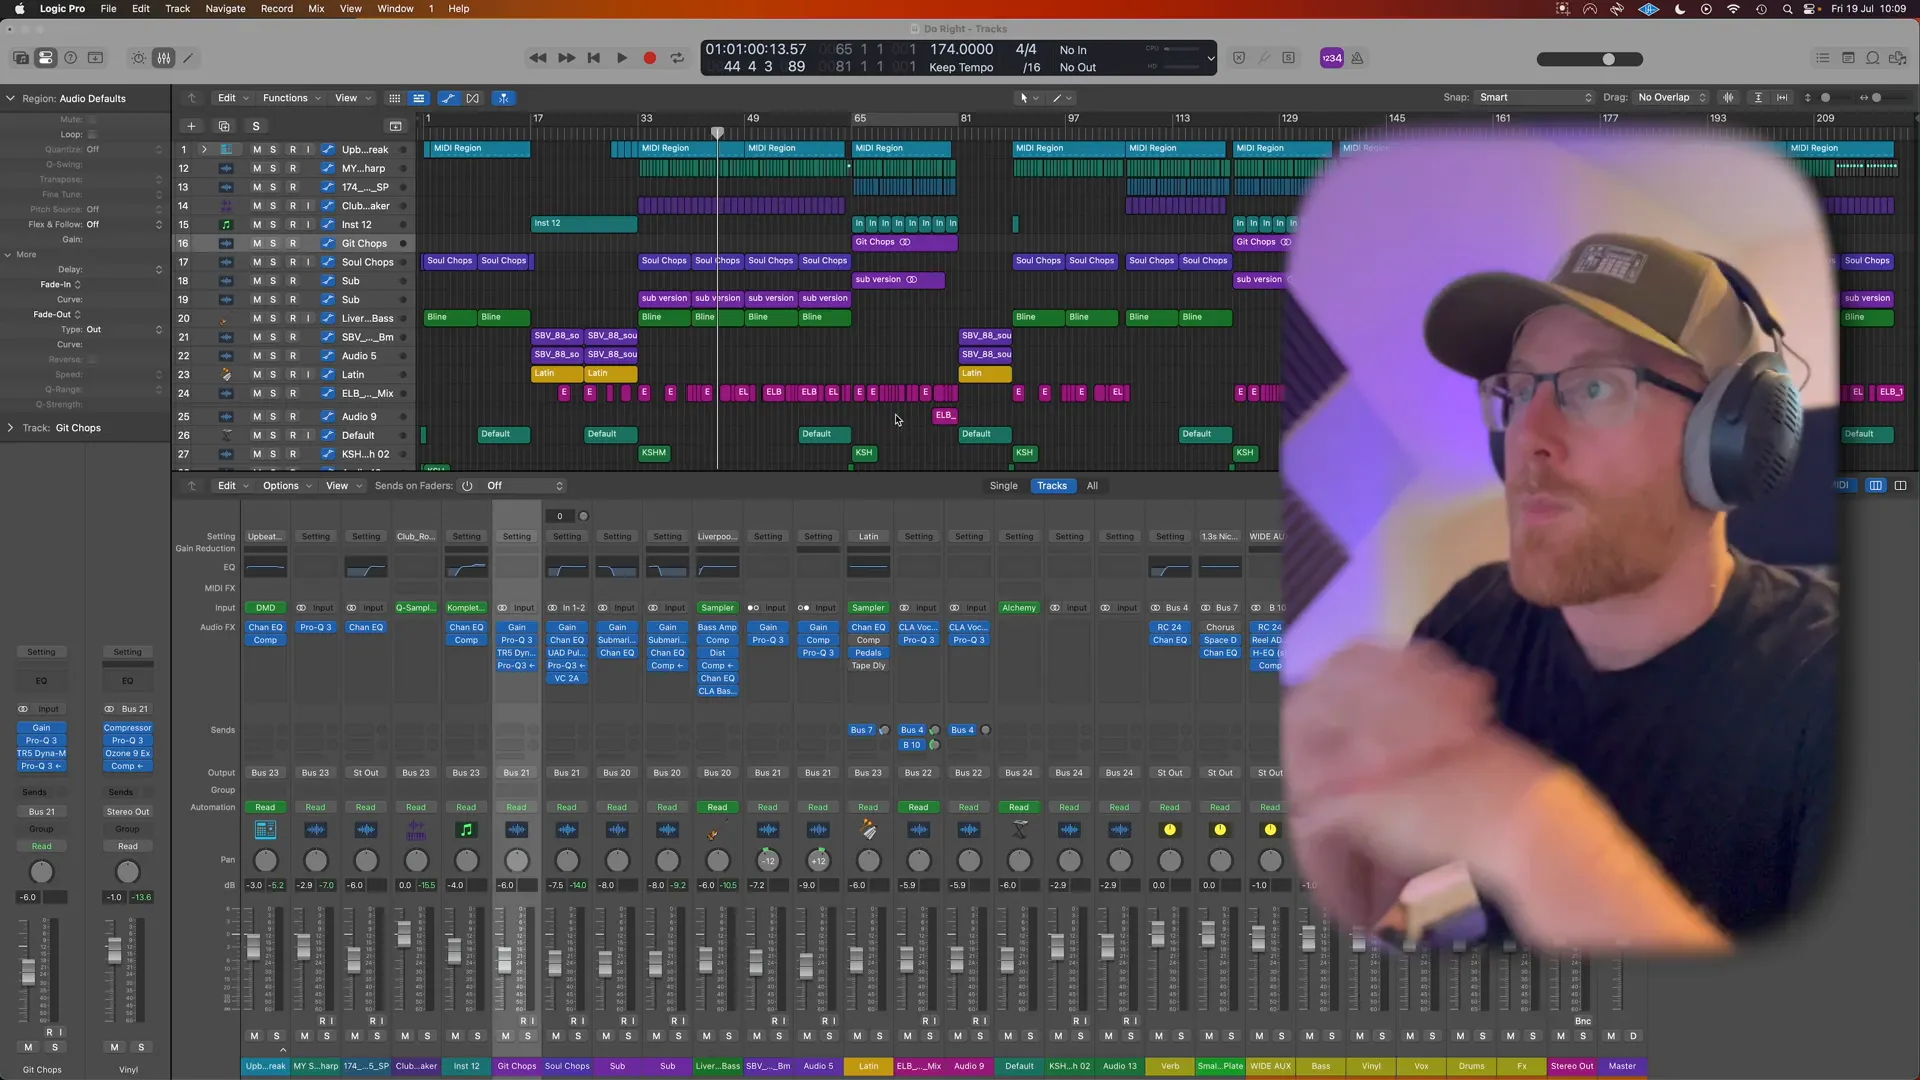
- Open Your Session: Ensure your Logic Pro session is fully loaded with all the tracks you wish to export.
- Select Tracks: Use the mixer view for easier selection. Highlight all the individual tracks you want to export.
- Access Export Menu: Instead of the typical Command + B for bouncing, use Command + E to open the export menu.
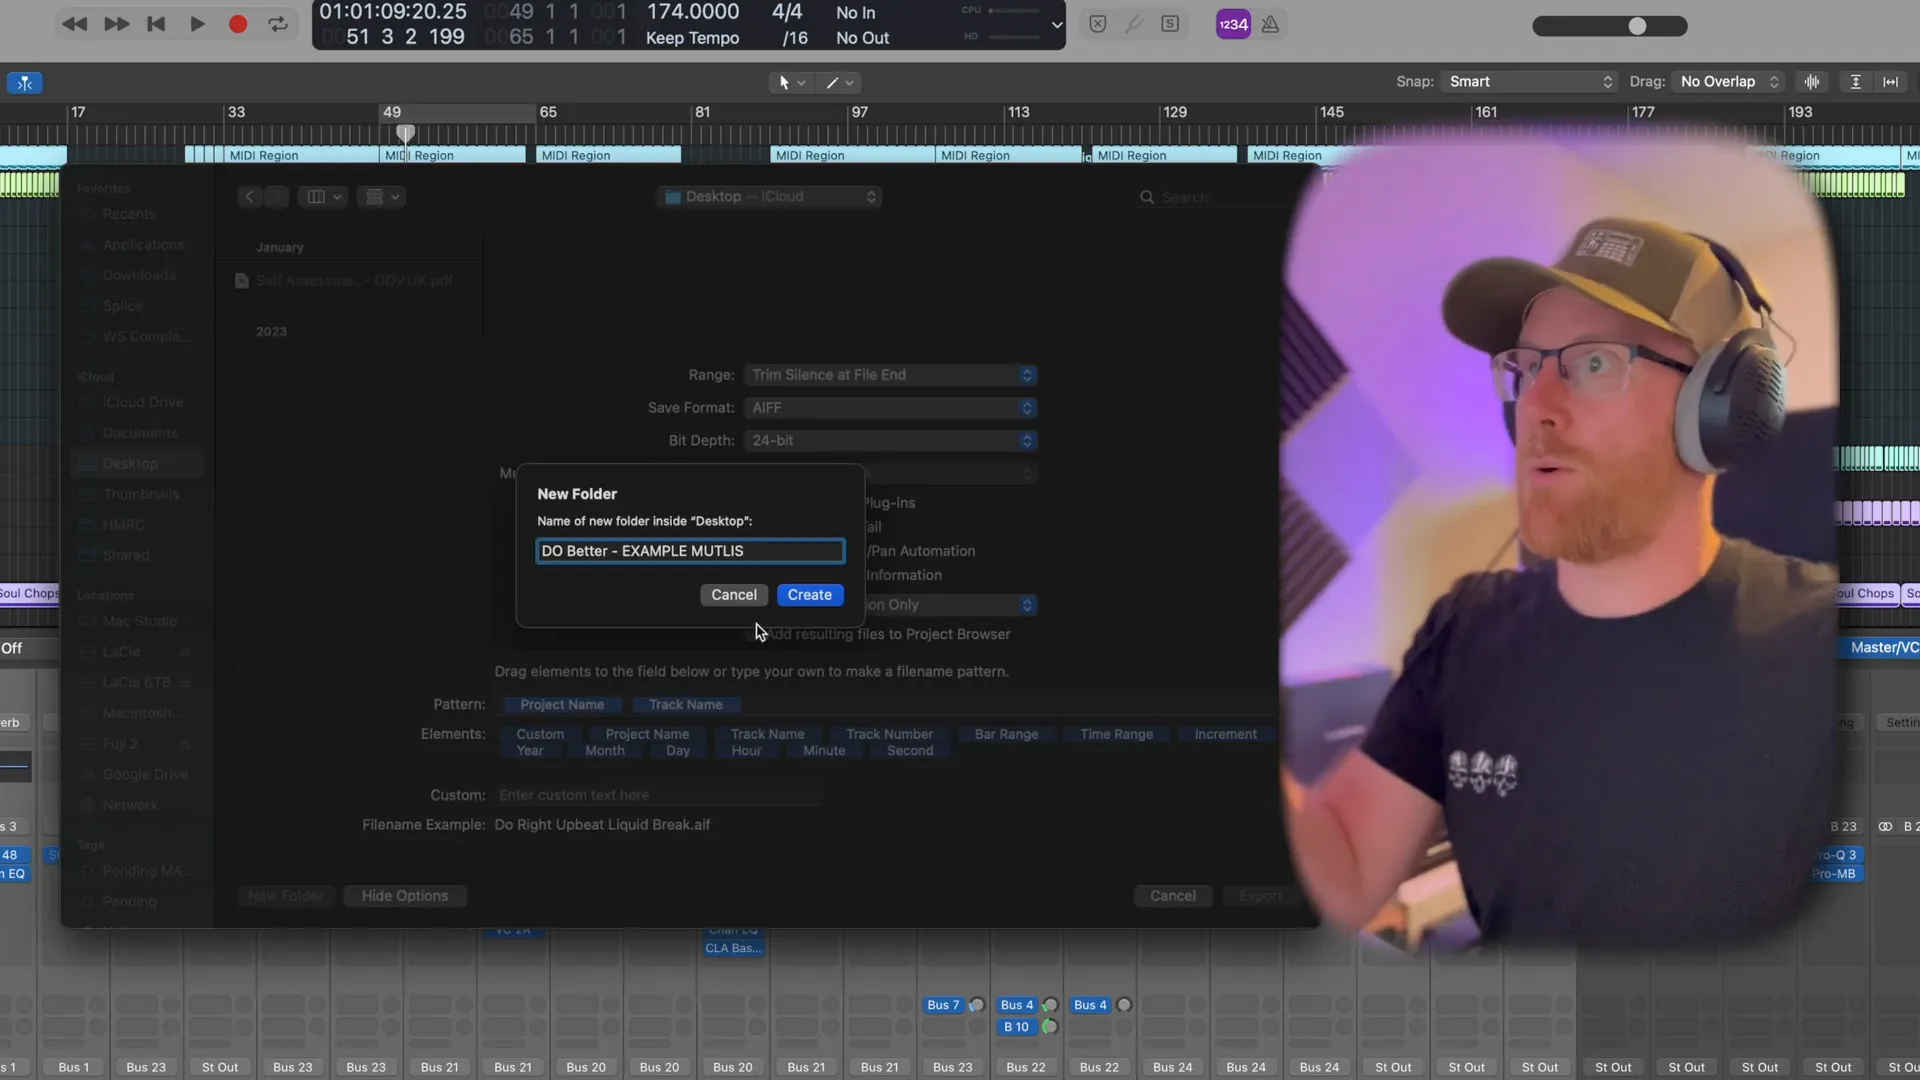
- Choose Export Location: Select a destination for your exported files. It’s best to create a new folder within your project directory to keep everything organized.
- Set Export Options:
- Choose your range settings - you can trim silence at the end of the file or extend the length to project end.
- Set the file format to WAV and choose the bit depth (24-bit is recommended).
- Include audio tails if you have effects that need to fade out naturally.
- Finalize the Export: Once everything is set, click export and Logic Pro will process the files, creating individual audio files for each track.
Exporting Stems: A More Complex Process
Exporting stems involves a different approach compared to multitracks. Stems are typically the processed output of groups of tracks, allowing for a more cohesive sound that includes effects and bus processing. This method is particularly useful when sending files to a mixing engineer who needs to work with the overall sound as it was intended.
Steps to Export Stems
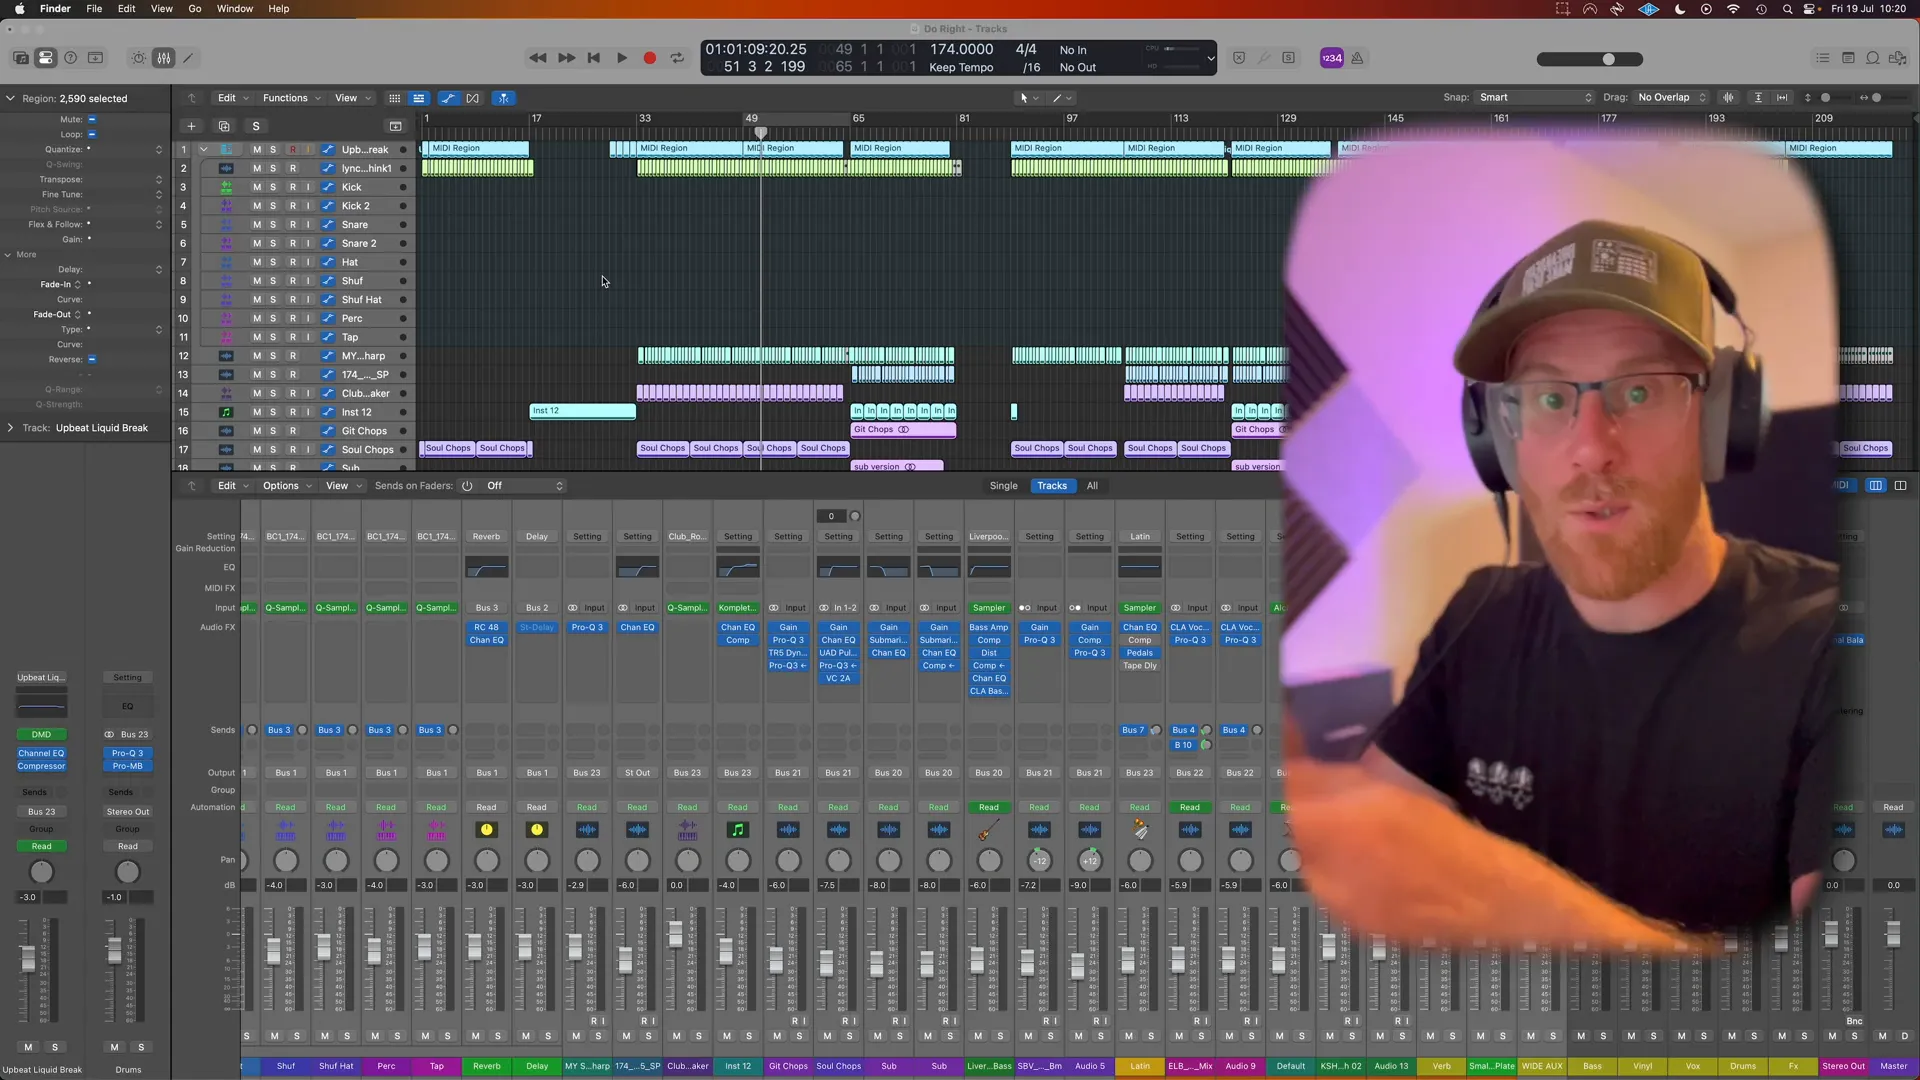
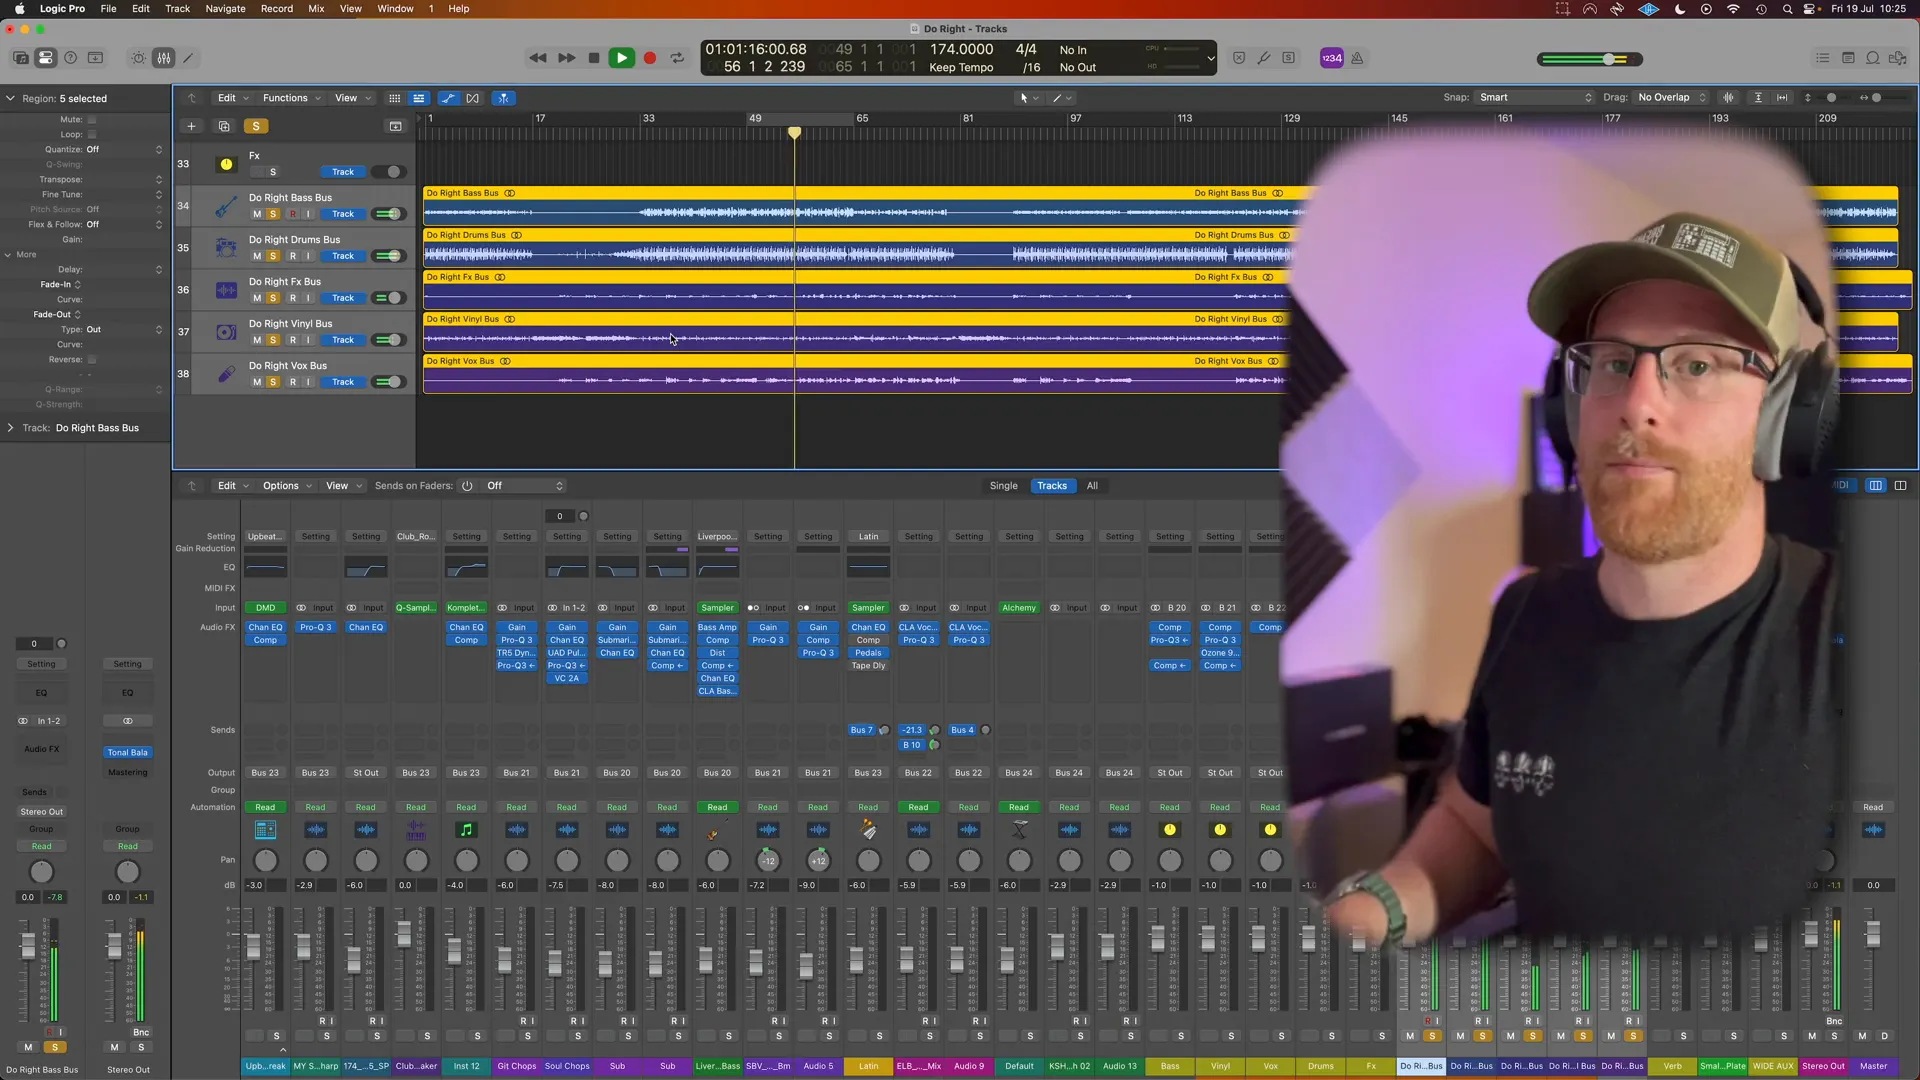
- Prepare Your Buses: Ensure that your buses are set up correctly. This includes routing any effects or reverb to the appropriate buses.
- Create Tracks for Buses: Highlight the buses you wish to export, right-click, and create a track for them. This action pulls them into your main project window for easy access.
- Select the Buses: Hold down the Shift key and select all the buses you want to export.
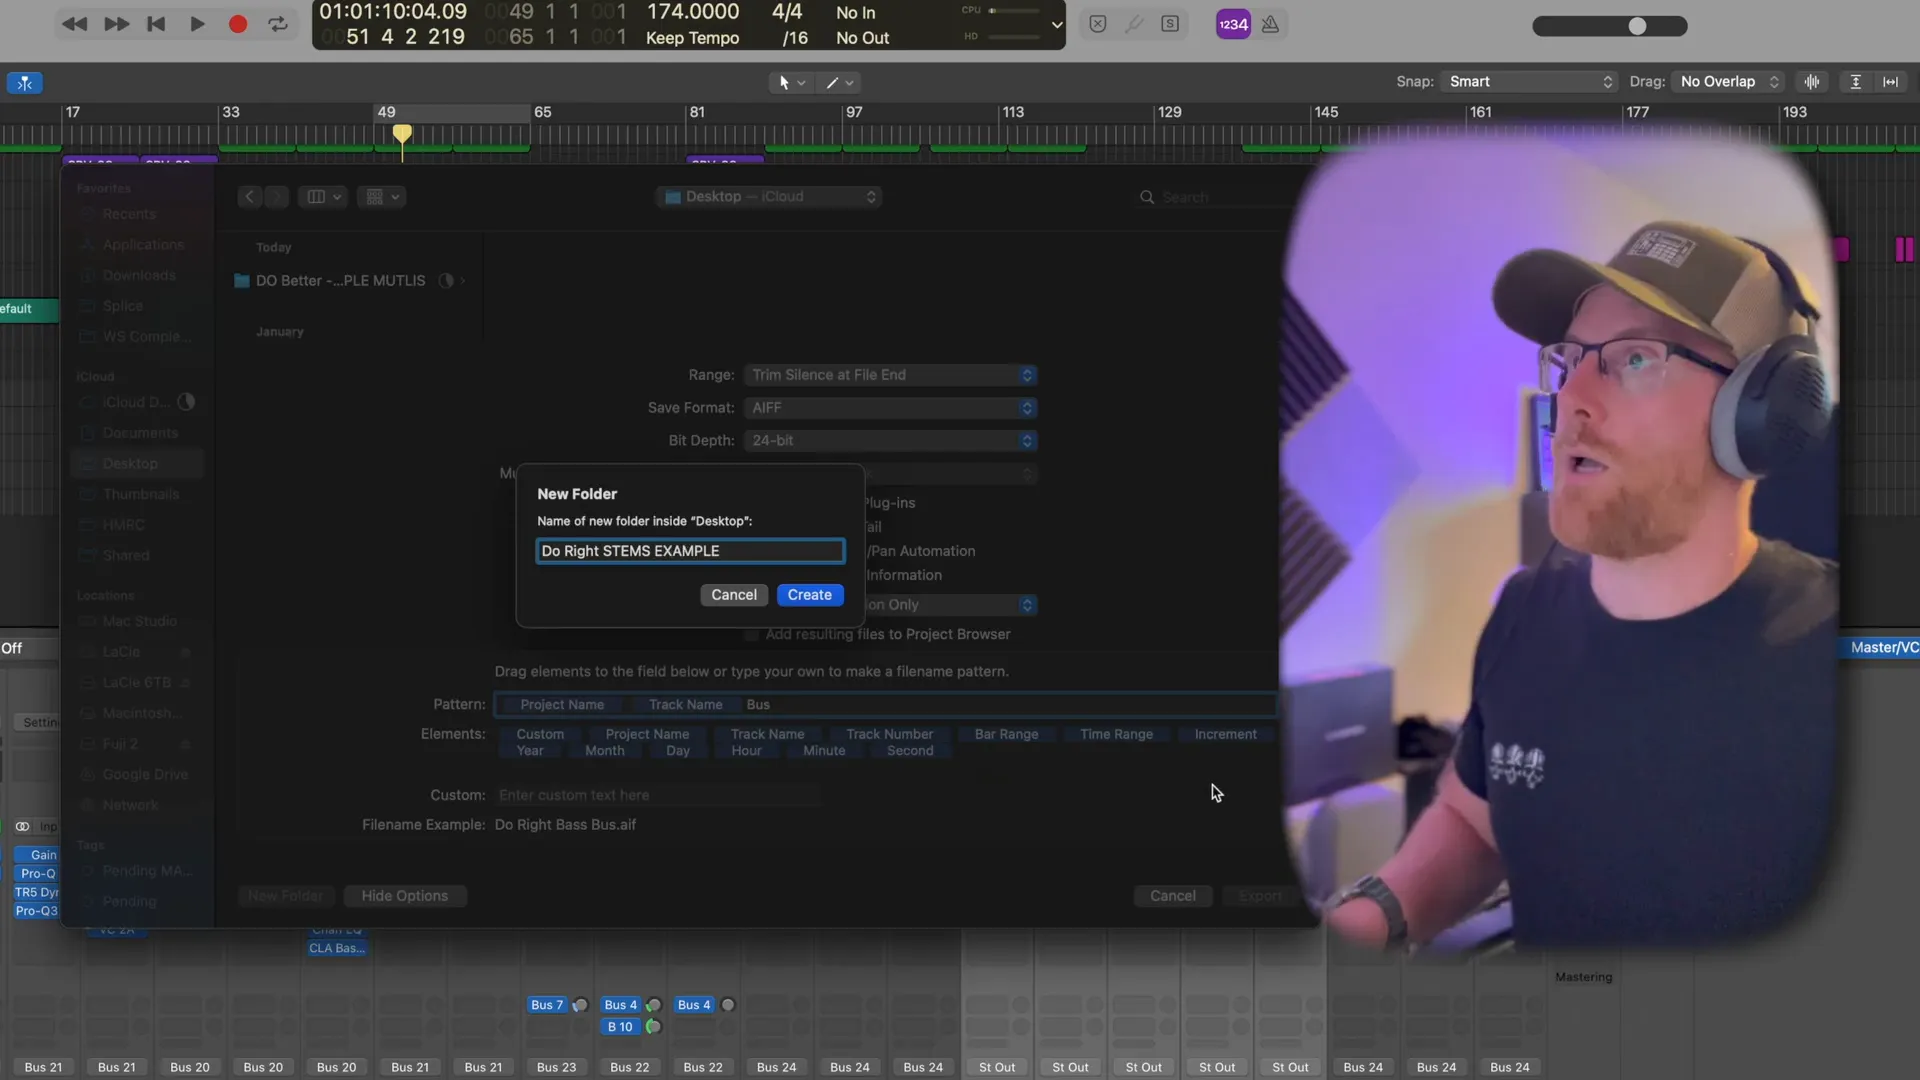
- Access Export Menu: Similar to the multitrack export, go to File > Export and choose to export selected tracks as audio files.
- Set Export Parameters: Ensure you include options such as audio tail and trim silence. Name your stems appropriately for easy identification later.
- Export the Stems: Once you hit export, Logic Pro will process and create the stems, which will include all the bus processing and effects.
Final Thoughts
Understanding how to export stems in Logic Pro 11 is a vital part of the music production process. It ensures that your projects are organized and that you're able to collaborate effectively with other musicians and engineers. Whether you're exporting multitracks or cohesive stems, following these steps will help streamline your workflow.
If you’re looking to enhance your music production skills further, consider exploring the Courses — Warrior Sound for in-depth tutorials and resources.
For more tips on mastering your tracks, check out our Mastering Music Masterclass Info — Warrior Sound to polish your final mixes.
Happy producing!


Comments
Post a Comment